
This is so easy, you won't believe it. First, you'll need your cutters.
 |
| Shamrock, butterfly, snowflake, and heart cutters. |
 |
| Wilton Color Mist. I need more blue! |

And you'll need some gel food coloring. This acts as paint. I like the thick consistency of gel food color. You could use the thinner kind of food coloring you find at the market, but I worry that it would make your bread a little mushy. Gel food coloring is very opaque, so you don't need a lot of it to get the detail you want.

And I can't live without WHITE edible food color. Didn't know they made white? Well, they do! Love this stuff. Make sure you have a few food safe paint brushes, and you're ready to go.

First, use your cutter to cut out your shape. If you don't have time to decorate, stop here, you're done.
 |
| Cut out your shape. Here I'm making a butterfly for my daughter, and a ninja star for my son. |
 |
| All cut out and ready to decorate. |
For these, I used Jumbo Daisy sprinkles as my stencils. You can really use anything as a stencil for the Color Mist.


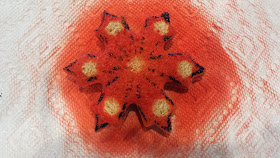
When I was finished with the pink, I decided to spray the top off with gold to see what would happen. Result? A pale orange! I let it dry while I sprayed the snowflake/ninja star.

I put my stencil pieces in place before spraying.


Here's the fully colored ninja star.

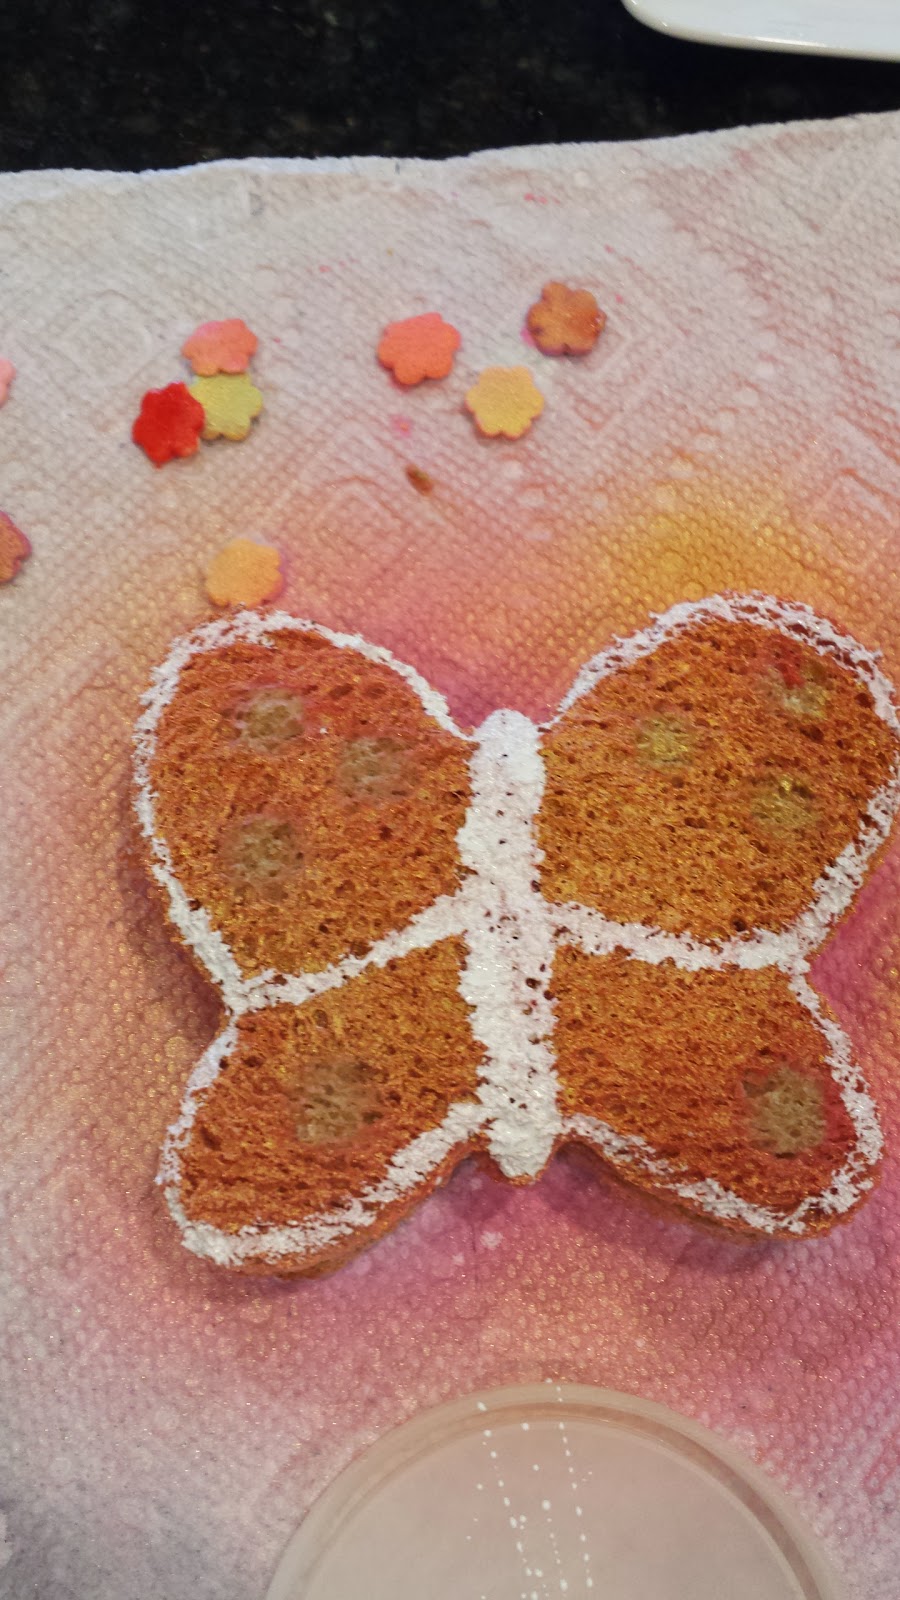
While the ninja star dried, I removed the sprinkles off of the butterfly. You can see where the uncolored areas are.

So now it's time to paint! Here I used some white food coloring on a plastic lid as my palette.

Get your brush well-saturated with your color. You want to dab on the color, not brush. If you brush on the bread, you'll get colored crumbs everywhere! Take your time, dab, dab, dab...


After I completed the center body, I outlined the wings. Dab on the color as you go.


Next to color in the spots. I used dark purple for my spots and outlines. You really don't have to use stencils at all, but if you don't want to worry about the colors on the spots bleeding or mixing with the base color of the wing, then stenciling is the way to go. It also helps give you a guideline as to where the spots should go when you're painting them in.

I wasn't really digging how the dark spots looked with the light wings/body, so I darkened up the wings and body a bit.


Finished! Now on to finishing the ninja star...
I removed the stencil pieces, and colored in some edges and detail with a bit of the dark purple color gel. It looks black to me. Then I filled in the spots, and....

It's a super-cool ninja star!

Here's what the final lunches ended up looking like.

Easy and fun! And so you can see some other color combinations, below are some other butterfly sandwiches I made for my daughter to take to school at lunch. Each one took me just a few extra minutes to make, and she loves them!
Purple with dark purple details. This is one of my favorites.

Green with white details. This would be great for St. Patrick's Day!

Red with dark purple details. This was done before I found the white food coloring in my stash. Still looks very cool!

Pink with white details.

I really want to try a blue/purple ombre butterfly. Still need to get some blue Color Mist! I used pink and yellow Color Mist in the photo below. I sprayed yellow all over first, then followed up with pink- which resulted in a lovely orange color. The dots were done with pink gel food color, and the dark lines were done with purple color gel.

 |
| Off to school this butterfly goes! |
And you can do this with not just peanut butter and jelly. If you use tuna, or even lunch meat in your sandwiches, simply make your sandwich, then cut out your shape. The food colorings don't have any sort of sweet flavor to clash with a savory sandwich.
Hope you enjoyed my little bit of edible creativity for the day. Thanks for stopping by!
No comments:
Post a Comment